Put AI agents to work
Taskift works with the AI tools you already use. Let AI draft tasks for you, or add an agent that works on the board like a teammate.
IN THIS CHAPTER YOU'LL LEARN
- ALet AI draft the tasks
- BGive the AI a brief
- CAdd an agent to your team
- DConnect Claude or ChatGPT
ALet AI draft the tasks
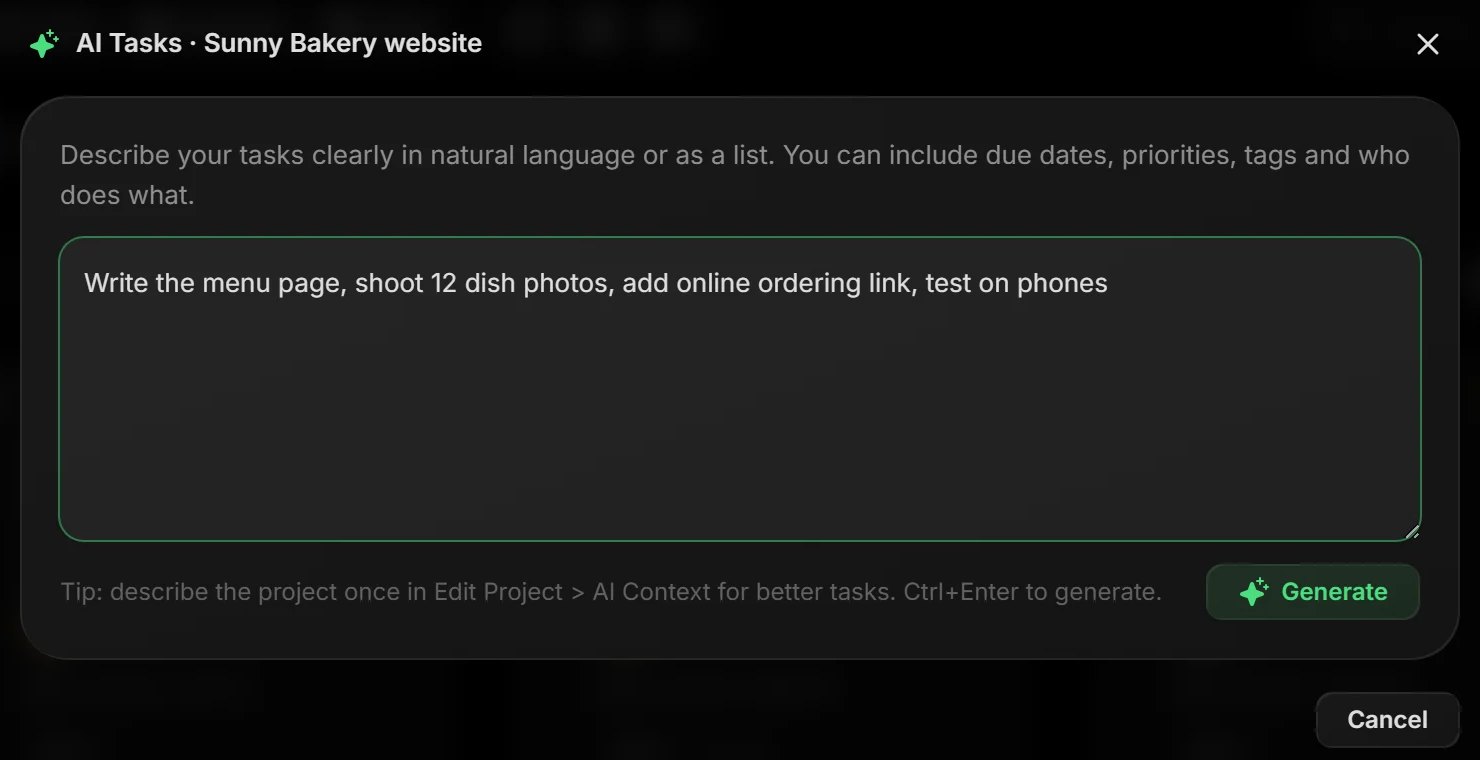
Click the sparkle button next to + New task in any project.
- Describe the work in plain words. Dates, priorities and who does what are fine: Jordan writes the menu page by Friday, high priority.
- Click Generate, or press Ctrl Enter.
- Edit, delete or add suggestions, then add them. Nothing reaches the board until you do.
BGive the AI a brief
Open the project's ⋮ menu, pick Edit Project and open AI Context. Describe the project in a few sentences. Every AI suggestion for that project reads it.
PRO TIP
Name the client, the deadline and the tools. "A five-page site for a bakery, built in WordPress, launching March 1" gets far better tasks than a blank brief.
CAdd an agent to your team
An agent is an AI teammate. You can assign it tasks, and its changes and comments show in task history under its name.
- Open the Team page and find AI agents & API tokens.
- Click + Add agent and give it a name, like Claude.
- Copy the token Taskift shows you. It is shown once.
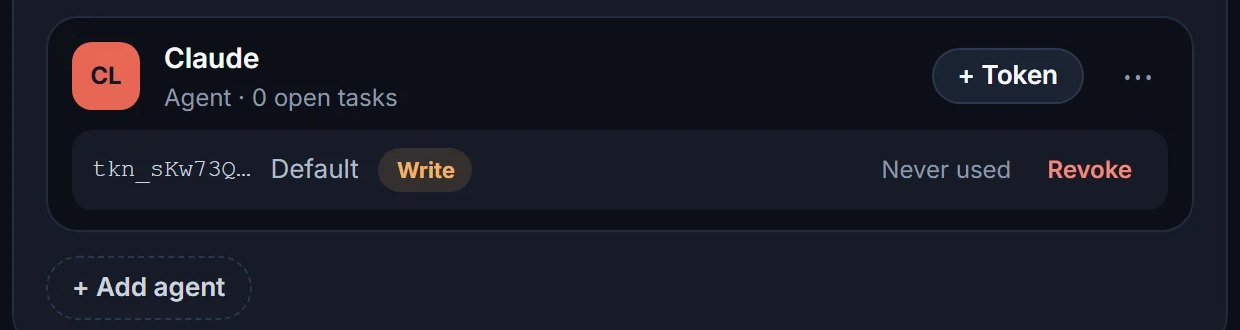
Your first three agents are free (four on the annual plan).
DConnect Claude or ChatGPT
Most AI apps can sign in to Taskift directly, so there is no token to copy. Add Taskift as a connector with this address:
https://app.taskift.com/api/mcp
Claude
- Open Settings > Connectors and click Add custom connector.
- Name it Taskift, paste the address, and click Add.
- Click Connect, pick your workspace and click Approve.
ChatGPT
- On chatgpt.com in a computer browser, open Plugins and click Add custom MCP server. (If you don't see it, turn on Developer mode first.)
- Name it Taskift, paste the address and choose OAuth.
- Click Connect, pick your workspace and click Approve.
Then just ask: "What's overdue in Taskift?"
GOOD TO KNOW
You choose Read only or Read & write when you approve. AI apps can never delete anything, and never see billing or anyone's sign-in. Gemini, Codex, Cursor and VS Code work too: see Connect AI tools.
You have AI teammates now.
Next, plug Taskift into the rest of your tools.
Connect the tools you use
Chat alerts, calendar sync, GitHub and the API.