Bring in your team and clients
Teammates do the work. Clients follow along. Invite both from the Team page. Clients are always free.
IN THIS CHAPTER YOU'LL LEARN
- AInvite a teammate
- BPick the right role
- CShare a project with a client
- DWhat your client sees
AInvite a teammate
Click your board's name at the top left, pick Dashboard, then open the Team tab.
- Under Invite people, type their email address.
- Open Access and pick a role.
- Inviting more than one? Click + Add person for another row, then Send invites.
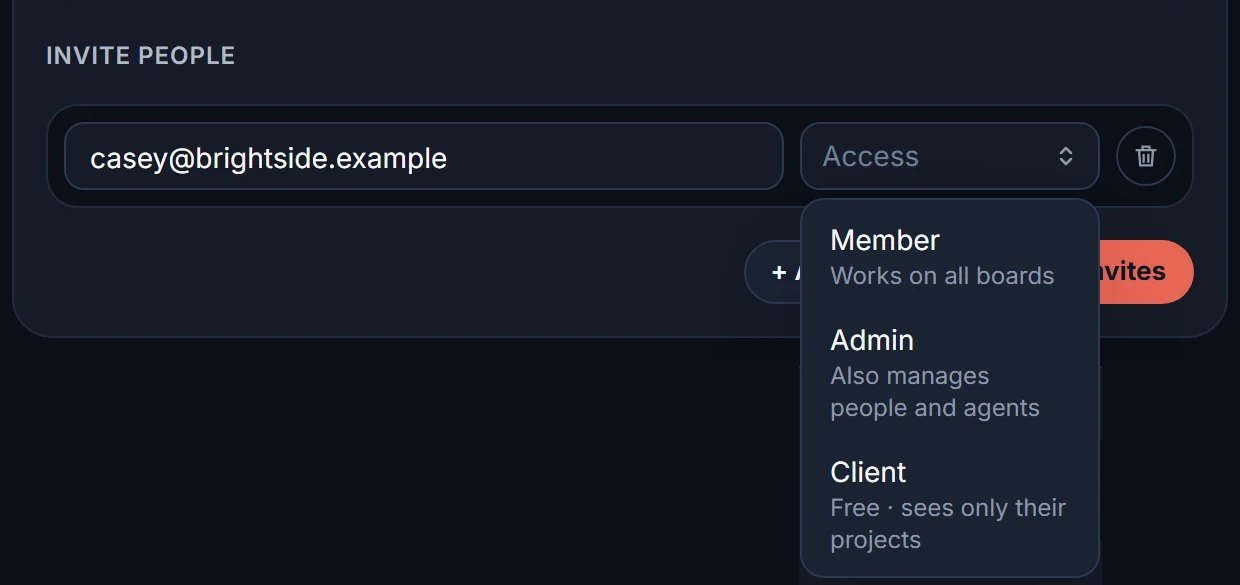
They get an email saying who invited them, and click Accept invite to join.
BPick the right role
A role decides what someone can see and change.
- Owner
- Everything an admin can do, and the only one who can hand the workspace to someone else.
- Admin
- Works on all boards, and manages people, agents and the workspace's name and logo.
- Member
- Works on all boards.
- Client
- A free guest who sees only the projects you pick.
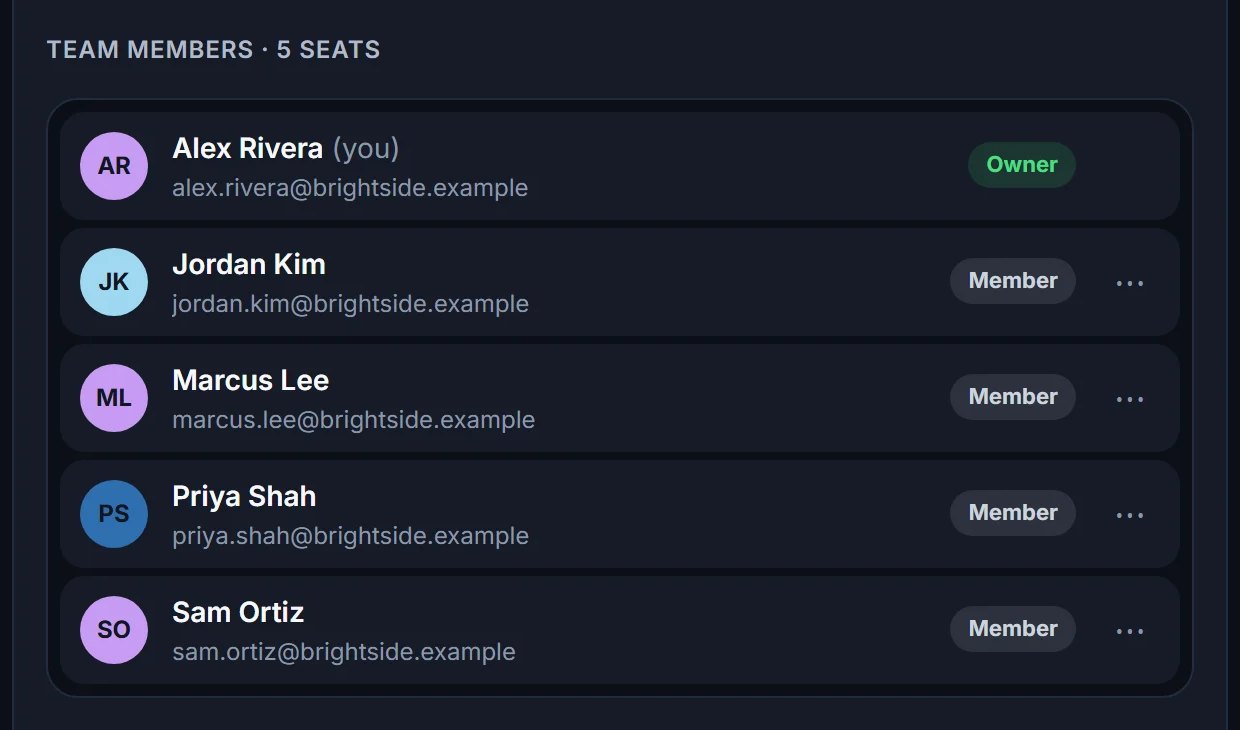
Owners, admins and members each use a seat. Clients never do. To change a role later, use the ··· menu on that person's row.
CShare a project with a client
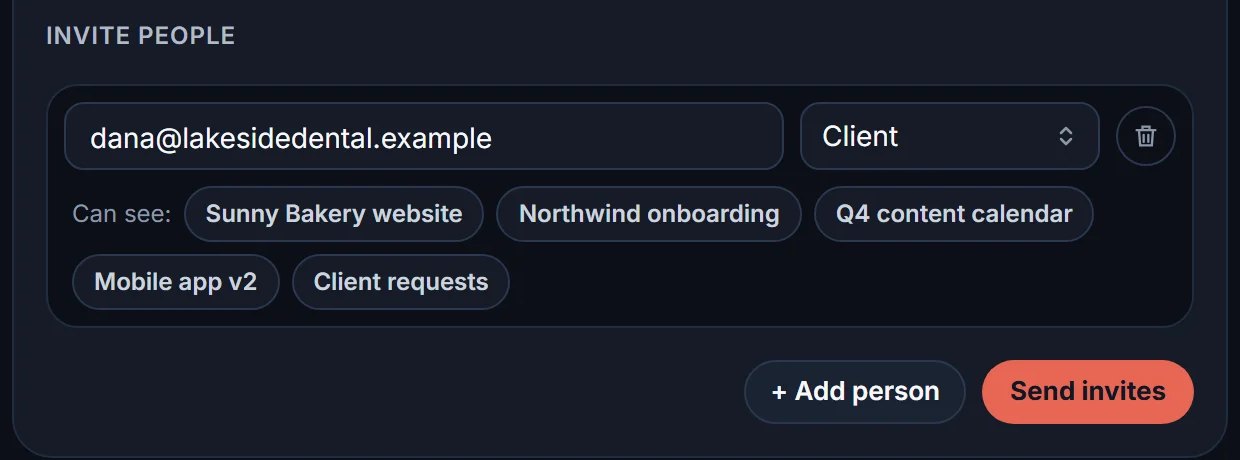
Inviting a client works the same way, with one extra step.
- Type your client's email address.
- Open Access and pick Client.
- Under Can see, click each project they should see.
- Click Send invites.
DWhat your client sees
Once they accept, their projects open for them like a portal.
- Only the projects you picked, never your other clients
- Only the tasks you marked Client can see this task
- Where each task stands, so the status emails can stop
PRO TIP
Before a status call, open the client's project in Focus mode and share your screen. They see only their work. Focus mode is in chapter 9.
Everyone's in.
Next, pick the view that fits the work.
Pick the right view
Board, List, Gantt, Calendar and Notes, and when each one helps.