Set up your first client project
A project is one client or one job. Set it up once, fill it with tasks, and save it as a template so the next client takes a minute.
IN THIS CHAPTER YOU'LL LEARN
- ACreate the project
- BAdd your tasks
- CFill in the details
- DMake the statuses yours
- ESave it as a template
ACreate the project
On the board, scroll past your last project and click + New project.
- Type the Project name, like the client's website.
- Under Start from, pick Blank project, Web project (our website build plan, tasks included) or one of your own templates.
- Click Create Project.
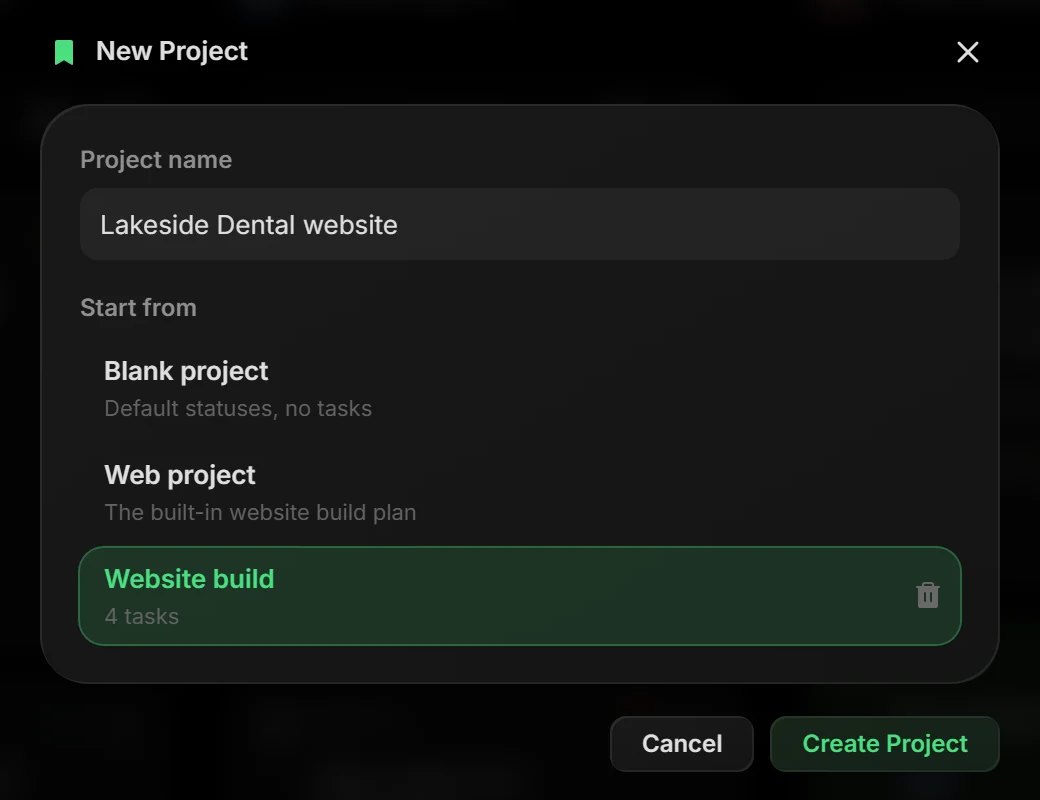
Every project gets a short key, and its tasks are numbered with it: SUN-14, SUN-15 and so on.
BAdd your tasks
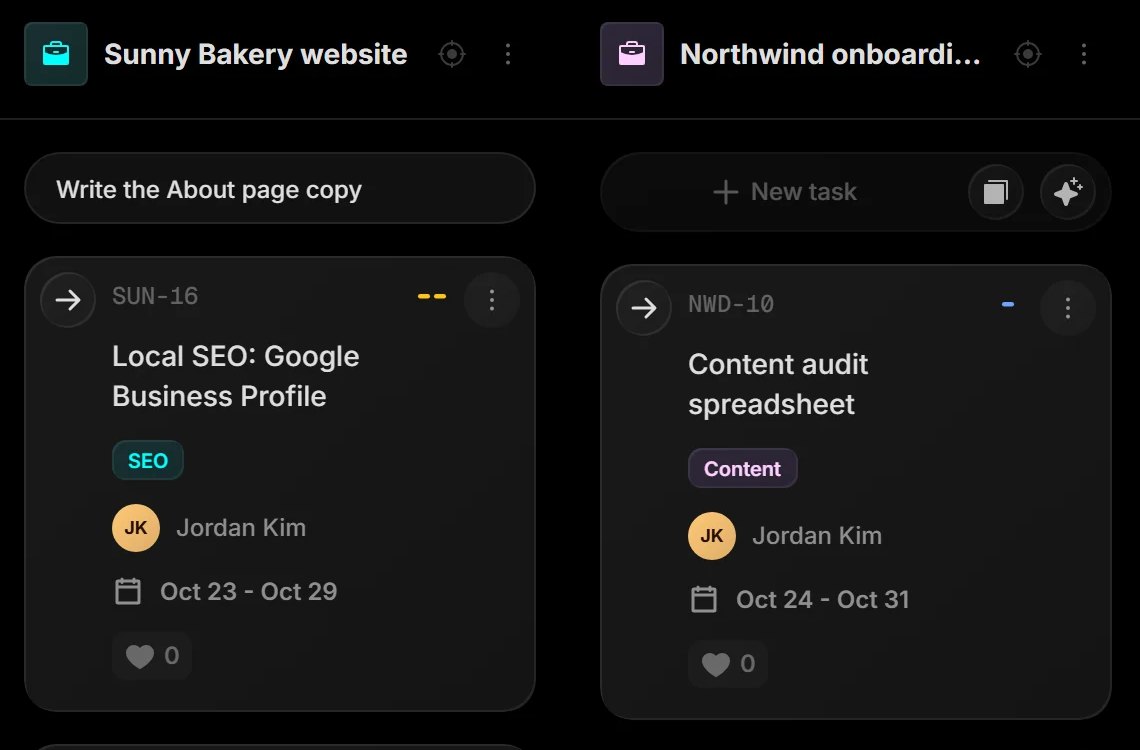
Click + New task at the top of the project, type a title and press Enter. The box stays open for the next one, so you can add a whole list in a row. Esc closes it.
PRO TIP
Press C anywhere on the board to start a new task. Moving from another tool? Use Import Tasks in the project's ⋮ menu to load a CSV file.
CFill in the details
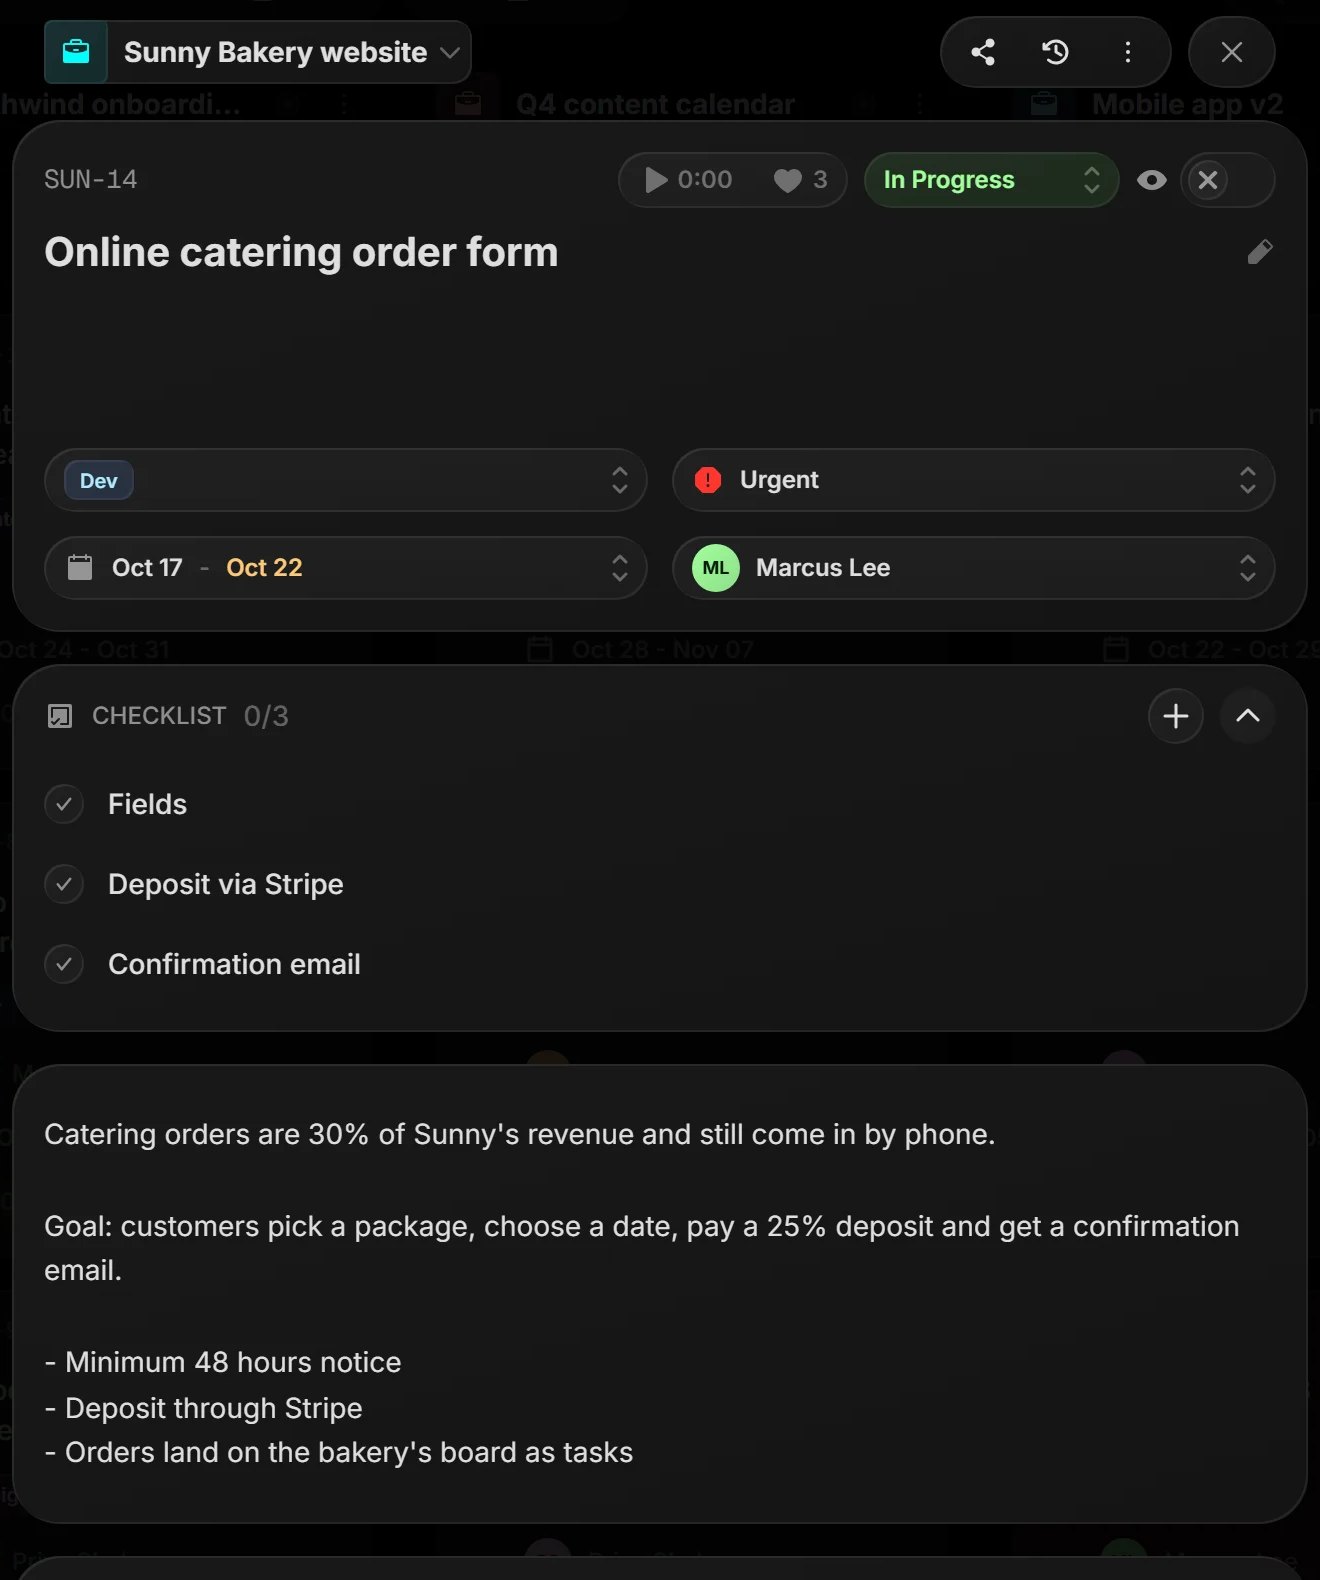
Click a task to open it. Everything saves as you go.
- Status: click it to move the task along
- Tags, priority and dates (start and due)
- The person on it: who is doing it
- A checklist for quick to-dos, and a description for the details
GOOD TO KNOW
The eye button at the top of a task is Client can see this task. Turn it on for tasks your client should see.
DMake the statuses yours
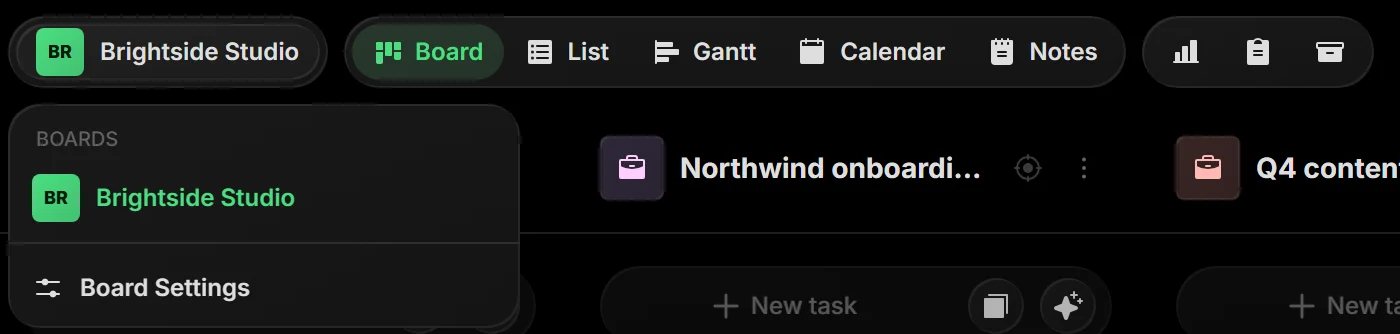
The five starter statuses fit most teams. To change them, click your board's name at the top left, pick Board Settings and open Statuses.
- Rename a status by typing over it, and pick its color.
- Drag rows to reorder. Top to bottom is left to right on the board.
- Set Max tasks to put a limit on a column.
- Click + Add Status for a new one.
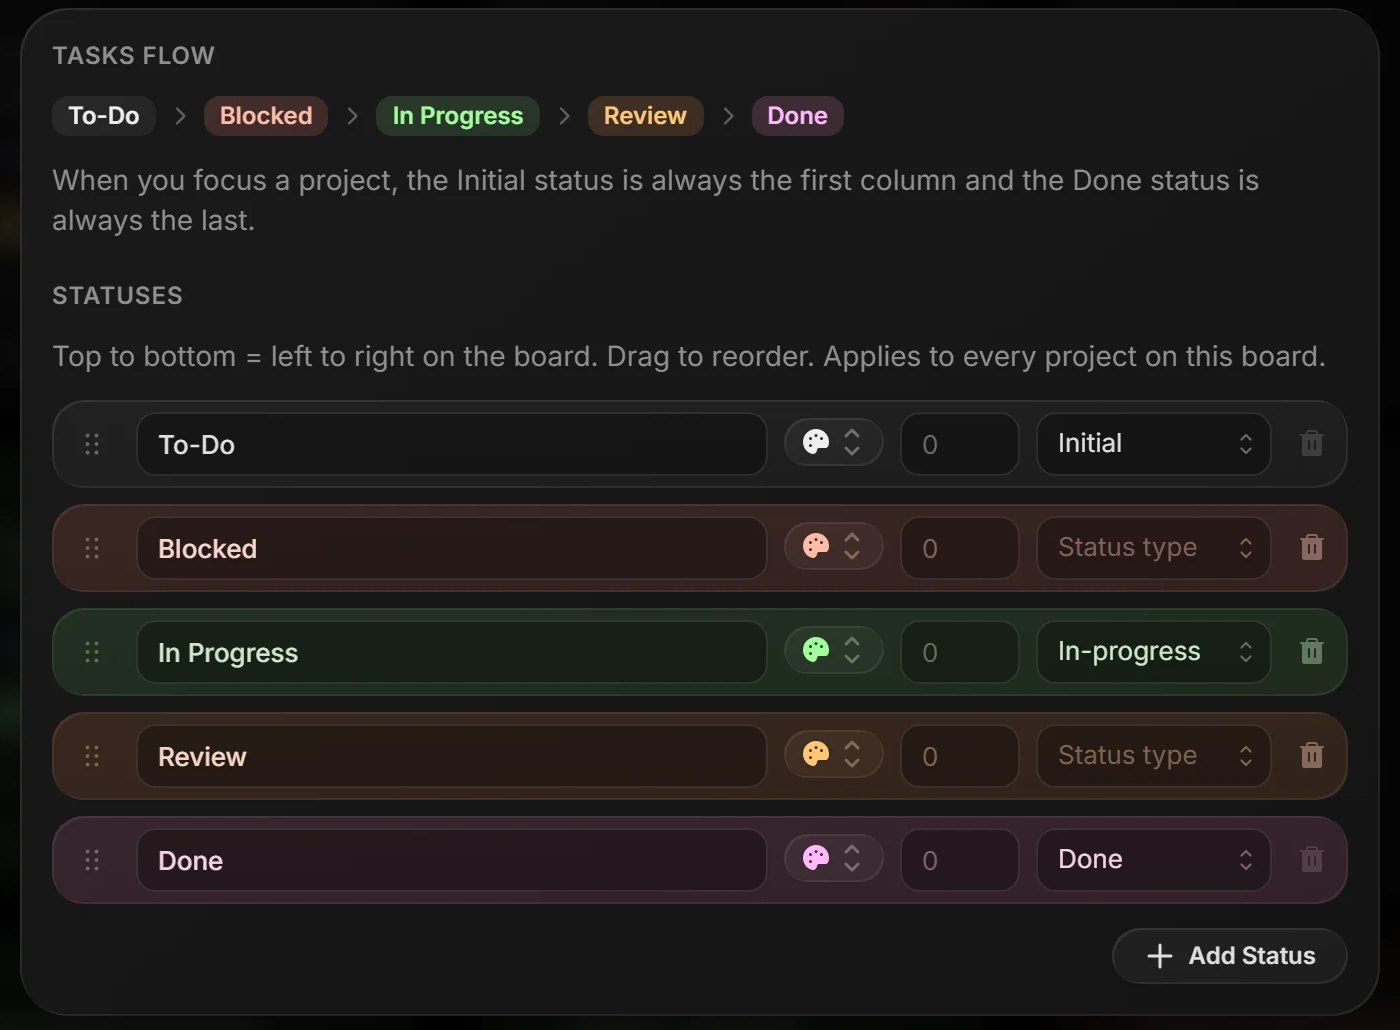
Statuses belong to the board, so every project on it uses the same list.
ESave it as a template
Once a project is set up the way you like, open its ⋮ menu and pick Save as Template.
- Give the template a name.
- Turn on Include Tasks if the open tasks should come along. Their dates move with the day the new project starts.
- Click Save Template.
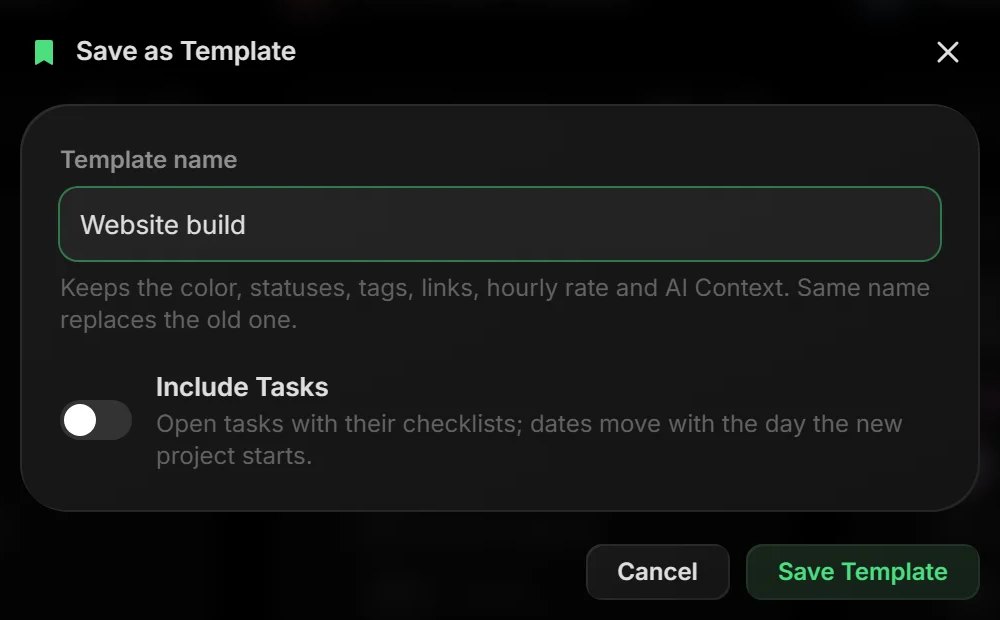
Next time, pick it under Start from in the New Project window.
Your first project is ready.
Now bring in the people who will work on it.
Bring in your team and clients
Invite teammates, then share a project with a client. Clients are free.